

 |
| The top of the desk |
 |
| This desk was originally white..we got it at IKEA, my 14 year old daughter decided that she wanted something less kiddish...so my mom, with her brilliant vision for design came up with this design. My daughter put 2 coats of primer on, then put 2 coats of black paint. After the paint dried, my mom helped her measure out the geographic print and using craft paint and stencil brushes...this is what was created! |
 |
| Add caption |
 |
| A vase from the craft store or Walmart, a small string of Christmas lights, and iridescent rocks that can also be bought at any craft store or Walmart |
 |
| This is a close up of the bookshelf I did for my girls. There is a pervious pictures but these were a little better. After I sanded, primed and then painted the white on "Pot of Cream", I then taped off parts I painted dark pink "Silk Ribbon". Once that dried I taped off parts I wanted green "Grass Cloth" and same with brown and light pink "Poetic Princess". I then used the flower stencil. I left it in the garage the whole night to air out the smell of paint as best I could. |
 |
| This shelf is the light pink and another shelf as well |
 |
| I received this old window years ago. I know it is really popular now to use them. I painted it black, painted on crackle paint and then painted on the white paint. Crackle paint makes the upper coat of paint to crack allowing the paint underneath to show through, also giving it an older look. I used Glue Dots to hold the pictures in place. You can find them at any craft store, usually by the scrapbook section. |
 |
| I found this mirror at our local Goodwill for $10.00. First, I cleaned the mirrow and frame with a damp cloth and let it dry. I took the mirror out and sprayed chalk spray on it. I then spray painted the frame yellow. After that dried I bought some fun scrapbook paper (black and white flowered pattern), measured and cut it to fit on the inner part of the frame. I used Mod Podge to attach the paper. Once dried I used Glue Dots to put on some flowers I found in the house. I will be using this as a quote board. |
 |
| Final product!! |
 |
| I bought these suitcases off of Craigslist for $25.00. They needed a little help so I painted one Paprika, Purple and Yellow. |
 |
| The bottom one is actually a handmade tool case. It was a ok shape but needed some serious cleaning. The second to the top is tourquise. |
 |
| With shipping lables and chalk board spray you can put fun labels on almost anything. |
 |
| I found these jars at Michaels for .49 cents. For the Activity Day Girls we talked about the importance of working, tithing, and savings. We put the labels on the jars along with a piece of colored chalk in each one. I gave one to each of my children for their tithing. |
 |
| Another fun idea is using them for spice jars |
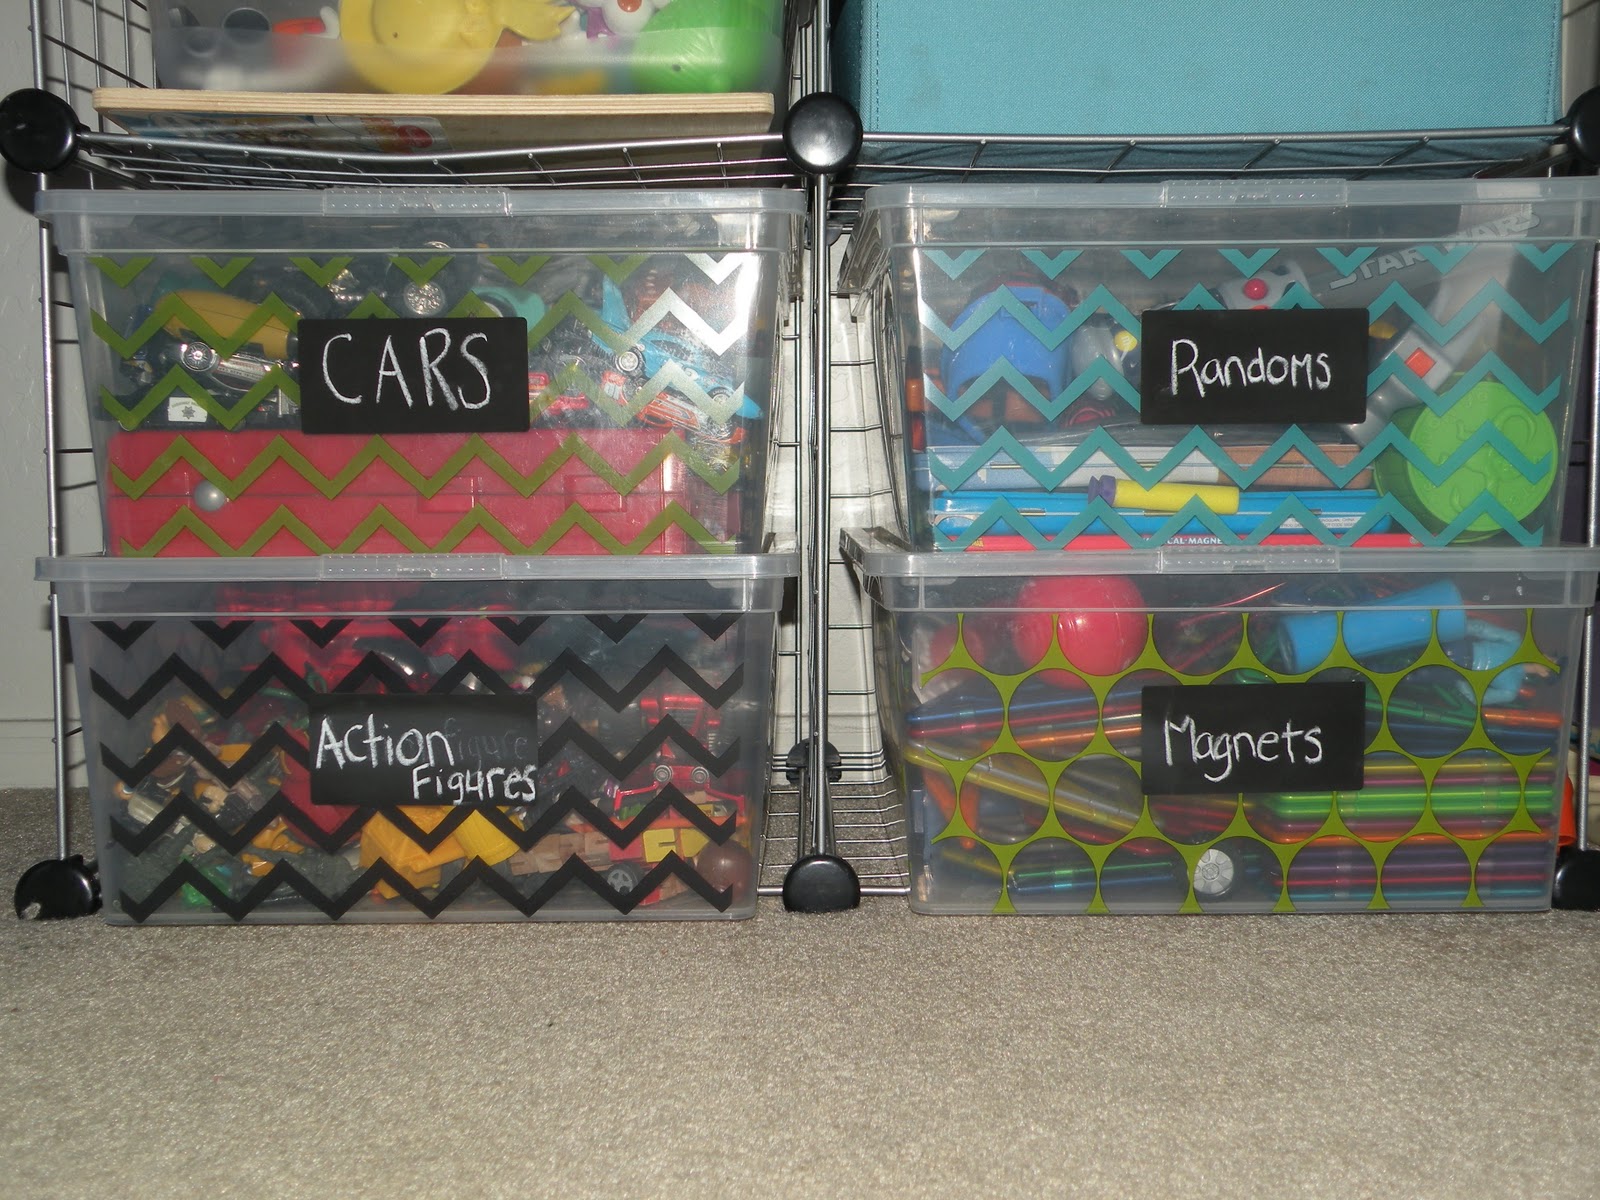 |
| Also for my sons toys |
 |
| I always have a lot of papers that I like on the fridge, so I went to Target and bought two clipboards for $1.00 and then some magnetic sheets (which has two in each package). I just stuck the sheets on the back of the clipboards and up on the fridge. |
 |
| End result |
 |
| Better overall picture of the girls bookcase. |
 |
| I found this shelf at Michaels for $15.00, but because of their coupons everyweek I only spent $9.00. I painted it cream and antiqued it by painting stain on it, just alittle at a time, and then wiping it off. |
